Elevating Durability and Integrity of Retaining Walls
Using Liquid Rubber
Retaining walls, by their very nature, are constantly exposed to varying weather conditions and moisture levels. This exposure can lead to water seepage, structural damage, and even collapse if not properly protected.
Waterproofing is not just a preventive measure; it's a vital aspect of maintaining the structural integrity of these walls. Liquid Rubber provides a robust barrier against water penetration, effectively combating the common problems associated with retaining wall deterioration.
Why Liquid Rubber is the Ideal Choice
Superior Flexibility and Durability: Liquid Rubber's unique formulation allows it to flexibly adapt to the natural movements and shifts in the retaining wall, reducing the risk of cracks and leaks.
Long-Lasting Protection: With its exceptional adhesion and weather-resistant properties, Liquid Rubber ensures a prolonged lifespan for your retaining walls, significantly reducing maintenance costs and efforts.
Eco-Friendly and Safe: Understanding the environmental impact, our sealant is eco-friendly, making it a safe choice for both residential and commercial applications.
Versatility in Application: Whether your retaining wall is new or in need of refurbishment, Liquid Rubber seamlessly adheres to various materials, providing a consistent and reliable waterproofing solution.
Ease of Use: Designed with both professionals and DIY enthusiasts in mind, Liquid Rubber ensures a straightforward application process, making it accessible for all skill levels.
Secure Your Retaining Wall in 6 Simple Stages Using Liquid Rubber
Stage 1: Power Wash for a Clean Start
Thorough Cleaning: Begin by power washing the entire surface of the retaining wall, including the footing.
Remove Debris: Make sure to scrape off any dry concrete spillages.
Stage 2: Detailing - Part 1 with Geo-Textile
Geo-Textile Application: Apply a 150mm strip of Geo-Textile along the entire wall-floor join, embedding it into the Liquid Rubber Waterproof Sealant.
Stage 3: Detailing - Part 2 for Enhanced Protection
Bridge Cracks and Gaps: Pre-cut Geo-Textile to cover any cracks, gaps, holes, and corners, embedding it into the Waterproof Sealant for maximum sealing.
Stage 4: First Coat of Waterproof Sealant
Initial Sealant Layer: Apply a generous first coat of Liquid Rubber Waterproof Sealant to the entire retaining wall surface. Use an up-and-down motion for even coverage.
Stage 5: Second Coat for Reinforced Waterproofing
Additional Sealant Layer: Once the first coat has cured, apply a second coat of Liquid Rubber Waterproof Sealant in a left-to-right motion for comprehensive protection.
Stage 6: Final Steps with Corflute and Backfilling
Curing and Protection: Allow the Waterproof Sealant to cure for 48-72 hours before proceeding.
Applying Protection Board: Install corflute protection board post-curing.
Backfilling: Backfill with dirt, applying gravel and ag-pipe as recommended.
Step-By-Step Waterproofing Instructions
Surface Preparation: Clean the retaining wall thoroughly, including the footing. Remove any concrete spillages.
Dust Removal: Use a leaf blower to clear away any residual dust.
Geo-Textile Preparation: Cut and apply Geo-Textile to all necessary areas. Ensure a 150mm application at the wall-floor join.
Sealant Application: Apply Liquid Rubber Waterproof Sealant with a brush, carefully embedding the Geo-Textile.
Rapid Cure Option: Optionally use Rapid Cure Spray for quicker setting (watch the instructional video for guidance).
First Sealant Coat: Apply the first layer of Waterproof Sealant using an up-and-down motion.
Second Sealant Coat: Once cured, apply the second layer in a left-to-right motion.
Recommended Thickness: Aim for a 1.5mm dry-film thickness.
Final Steps: Ensure proper curing before applying corflute and backfilling with dirt. Include gravel and ag-pipe as part of the backfilling process.
Learn more about using Liquid Rubber.
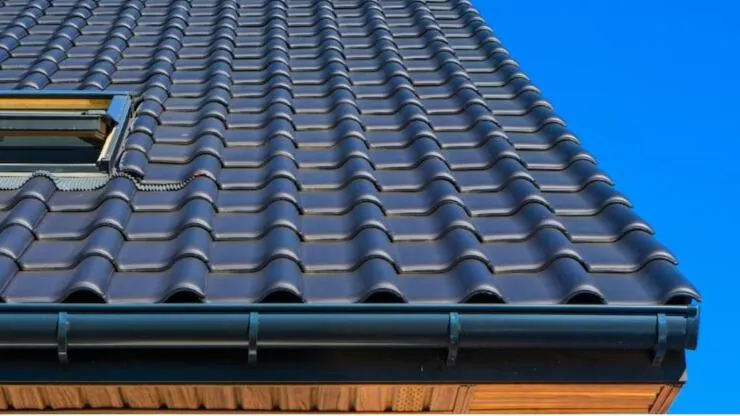
DIY Gutter Repair: How Liquid Rubber Makes It Easy

Gutters are the unsung heroes of your home, quietly protecting your foundation from water damage. But when they fail, the consequences can be severe, leading to rotting wood and unstable structures.
Fortunately, there's a DIY hero in town: Liquid Rubber Waterproof Sealant. This guide will show you how to use it to keep your gutters in top shape.
Step-by-Step Guide to Fixing Leaky Gutters with Liquid Rubber
Clear the Area: Begin by removing any debris from the gutter.
Clean Thoroughly: A clean surface ensures better adhesion. Dry the area completely after washing.
Apply Seam Tape: Use Seam Tape on joints and seams for extra protection. Remember to overlap for full coverage.
Protect Your Paint: Use painter's tape around the repair area to safeguard your home's aesthetics.
Seal with Liquid Rubber: Generously apply Liquid Rubber Waterproof Sealant with a brush.
Let It Set: Wait until the sealant is tacky to the touch.
Layer Up: Apply a second coat, extending beyond the first layer.
Remove Tape Carefully: Peel off the painter's tape while the sealant is still wet.
Allow Complete Drying: The drying time varies, but it's generally a few days.
Test Your Work: Once dry, test the repair by pouring water over the area to ensure no leaks.
Pro Tips for Optimal Waterproofing Results
Choose a day with mild temperatures (above 5C/40F) and no rain forecast.
Regular inspections post-repair are key to maintaining gutter health.
Why Liquid Rubber?
Liquid Rubber Waterproof Sealant is not just effective and easy to use; it's also a safe choice for homes with kids and pets. It's an affordable solution that gives you professional results without the professional price tag.
For more information or to purchase Liquid Rubber for your DIY projects, feel free to reach out to us at Liquid Rubber Shop. You can contact us via phone at (03) 8699 8533 or email us at [email protected].
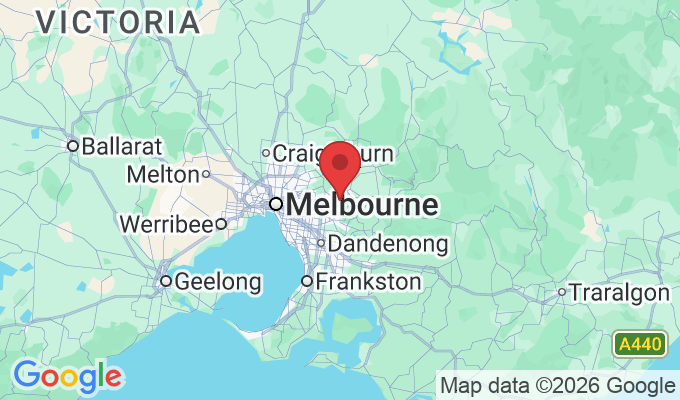
If you prefer to pick up your order locally, our address is 17 Vivian Street, Blackburn North, 3130 Victoria, Australia. We are open Monday to Friday, from 8:30am to 4:30pm. Additionally, we offer delivery services throughout Australia for your convenience.

DIY Gutter Repair: How Liquid Rubber Makes It Easy
Gutters are the unsung heroes of your home, quietly protecting your foundation from water damage. But when they fail, the consequences can be severe, leading to rotting wood and unstable structures.
Fortunately, there's a DIY hero in town: Liquid Rubber Waterproof Sealant. This guide will show you how to use it to keep your gutters in top shape.
Step-by-Step Guide to Fixing Leaky Gutters with Liquid Rubber
Clear the Area: Begin by removing any debris from the gutter.
Clean Thoroughly: A clean surface ensures better adhesion. Dry the area completely after washing.
Apply Seam Tape: Use Seam Tape on joints and seams for extra protection. Remember to overlap for full coverage.
Protect Your Paint: Use painter's tape around the repair area to safeguard your home's aesthetics.
Seal with Liquid Rubber: Generously apply Liquid Rubber Waterproof Sealant with a brush.
Let It Set: Wait until the sealant is tacky to the touch.
Layer Up: Apply a second coat, extending beyond the first layer.
Remove Tape Carefully: Peel off the painter's tape while the sealant is still wet.
Allow Complete Drying: The drying time varies, but it's generally a few days.
Test Your Work: Once dry, test the repair by pouring water over the area to ensure no leaks.
Pro Tips for Optimal Waterproofing Results
Choose a day with mild temperatures (above 5C/40F) and no rain forecast.
Regular inspections post-repair are key to maintaining gutter health.
Why Liquid Rubber?
Liquid Rubber Waterproof Sealant is not just effective and easy to use; it's also a safe choice for homes with kids and pets. It's an affordable solution that gives you professional results without the professional price tag.
For more information or to purchase Liquid Rubber for your DIY projects, feel free to reach out to us at Liquid Rubber Shop. You can contact us via phone at (03) 8699 8533 or email us at [email protected].
If you prefer to pick up your order locally, our address is 17 Vivian Street, Blackburn North, 3130 Victoria, Australia. We are open Monday to Friday, from 8:30am to 4:30pm. Additionally, we offer delivery services throughout Australia for your convenience.
Contact Us
17 Vivian Street Blackburn North 3130 Victoria, Australia
Delivery throughout Australia
Pick Up 17 Blackburn Nth Vic 3130