Elevating Durability and Integrity of Retaining Walls
Using Liquid Rubber
Retaining walls, by their very nature, are constantly exposed to varying weather conditions and moisture levels. This exposure can lead to water seepage, structural damage, and even collapse if not properly protected.
Waterproofing is not just a preventive measure; it's a vital aspect of maintaining the structural integrity of these walls. Liquid Rubber provides a robust barrier against water penetration, effectively combating the common problems associated with retaining wall deterioration.
Why Liquid Rubber is the Ideal Choice
Superior Flexibility and Durability: Liquid Rubber's unique formulation allows it to flexibly adapt to the natural movements and shifts in the retaining wall, reducing the risk of cracks and leaks.
Long-Lasting Protection: With its exceptional adhesion and weather-resistant properties, Liquid Rubber ensures a prolonged lifespan for your retaining walls, significantly reducing maintenance costs and efforts.
Eco-Friendly and Safe: Understanding the environmental impact, our sealant is eco-friendly, making it a safe choice for both residential and commercial applications.
Versatility in Application: Whether your retaining wall is new or in need of refurbishment, Liquid Rubber seamlessly adheres to various materials, providing a consistent and reliable waterproofing solution.
Ease of Use: Designed with both professionals and DIY enthusiasts in mind, Liquid Rubber ensures a straightforward application process, making it accessible for all skill levels.
Secure Your Retaining Wall in 6 Simple Stages Using Liquid Rubber
Stage 1: Power Wash for a Clean Start
Thorough Cleaning: Begin by power washing the entire surface of the retaining wall, including the footing.
Remove Debris: Make sure to scrape off any dry concrete spillages.
Stage 2: Detailing - Part 1 with Geo-Textile
Geo-Textile Application: Apply a 150mm strip of Geo-Textile along the entire wall-floor join, embedding it into the Liquid Rubber Waterproof Sealant.
Stage 3: Detailing - Part 2 for Enhanced Protection
Bridge Cracks and Gaps: Pre-cut Geo-Textile to cover any cracks, gaps, holes, and corners, embedding it into the Waterproof Sealant for maximum sealing.
Stage 4: First Coat of Waterproof Sealant
Initial Sealant Layer: Apply a generous first coat of Liquid Rubber Waterproof Sealant to the entire retaining wall surface. Use an up-and-down motion for even coverage.
Stage 5: Second Coat for Reinforced Waterproofing
Additional Sealant Layer: Once the first coat has cured, apply a second coat of Liquid Rubber Waterproof Sealant in a left-to-right motion for comprehensive protection.
Stage 6: Final Steps with Corflute and Backfilling
Curing and Protection: Allow the Waterproof Sealant to cure for 48-72 hours before proceeding.
Applying Protection Board: Install corflute protection board post-curing.
Backfilling: Backfill with dirt, applying gravel and ag-pipe as recommended.
Step-By-Step Waterproofing Instructions
Surface Preparation: Clean the retaining wall thoroughly, including the footing. Remove any concrete spillages.
Dust Removal: Use a leaf blower to clear away any residual dust.
Geo-Textile Preparation: Cut and apply Geo-Textile to all necessary areas. Ensure a 150mm application at the wall-floor join.
Sealant Application: Apply Liquid Rubber Waterproof Sealant with a brush, carefully embedding the Geo-Textile.
Rapid Cure Option: Optionally use Rapid Cure Spray for quicker setting (watch the instructional video for guidance).
First Sealant Coat: Apply the first layer of Waterproof Sealant using an up-and-down motion.
Second Sealant Coat: Once cured, apply the second layer in a left-to-right motion.
Recommended Thickness: Aim for a 1.5mm dry-film thickness.
Final Steps: Ensure proper curing before applying corflute and backfilling with dirt. Include gravel and ag-pipe as part of the backfilling process.
Learn more about using Liquid Rubber.

The Ultimate DIY Guide to Caravan Roof Waterproofing with Liquid Rubber Sealant
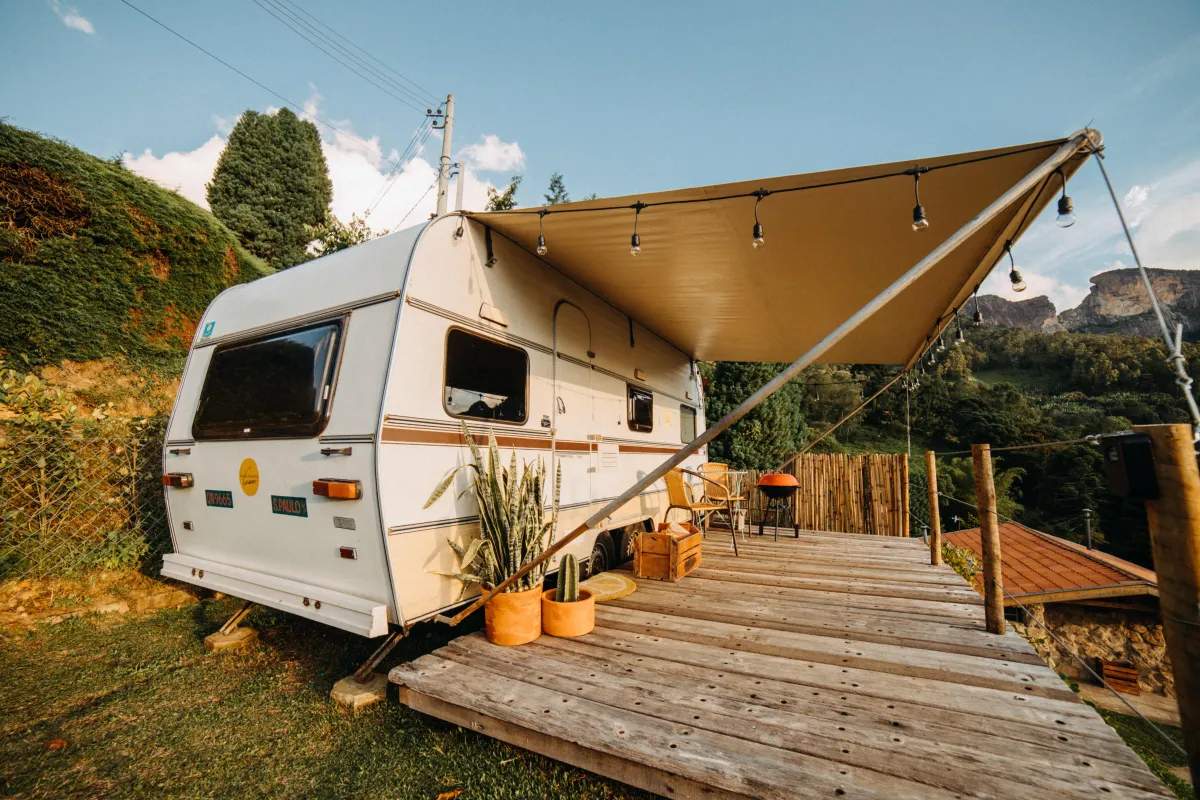
Exploring Australia in your caravan is an unmatched experience, but maintaining a dry and cozy interior is essential to truly enjoy your adventures.
A leaking caravan roof can quickly disrupt your travels, but don’t worry—repairing it yourself is easier than you might think.
Using liquid rubber sealant, you can efficiently waterproof your caravan roof, ensuring it stays protected against even the harshest Aussie weather.

Step-by-step Guide to Waterproof Caravan with Liquid Rubber
Identify the Source of the Caravan Roof Leak
The first step is to pinpoint exactly where water is seeping into your caravan. Common problem areas include joins, seams, and screw holes.
Inspect for Damage: Look for signs of water stains, mould, or damp patches inside the caravan.
Conduct a Water Test: Spray the roof with water and observe where it enters the interior. Enlist a friend to help monitor the inside as you identify the source.
Prepare for Liquid Rubber Application
Once you’ve located the leak, it’s time to prep the roof for a proper waterproofing solution.
Temporary Fix for Small Leaks: While silicone can offer a quick fix, it’s only a short-term solution and won’t match the durability of liquid rubber.
Long-Term Solution: Liquid rubber sealant provides a robust and flexible waterproof membrane, making it the best choice for lasting protection against Australia’s unpredictable climate.
Tips for Applying Liquid Rubber Membrane
Follow these steps to ensure your waterproofing efforts are successful:
Clean the Roof: Remove any old sealant, debris, or moss. A clean surface ensures the liquid rubber adheres properly.
Apply Primer: Use a primer designed for liquid rubber to enhance adhesion and extend the sealant’s lifespan.
Seal the Leak: Apply the liquid rubber sealant evenly over the affected area, focusing on seams and joins.
Reinforce for Durability: For extra strength, embed polyester fabric or compatible tape into the sealant while it’s still wet.

Inspect and Address Additional Caravan Roof Damage
After applying the liquid rubber and allowing it to cure, thoroughly inspect your caravan for any lingering issues:
Mould and Mildew: If you find mould, clean it with a specialized remover and improve ventilation to prevent recurrence.
Structural Repairs: Check for water-related damage to insulation, wooden frames, or panels, and repair or replace these components as needed.
Test and Maintain Your Caravan Roof
Once the sealant has dried completely, test your work to ensure the roof is leak-free:
Water Test: Spray water over the roof, paying close attention to the repaired area. Check for any remaining leaks.
Routine Maintenance: Regularly inspect the roof, especially after long trips or harsh weather. Proactive care can prevent small issues from escalating into major problems.
Why Choose Liquid Rubber for Caravan Roof Repairs?
Liquid rubber sealant is a superior solution for waterproofing caravan roofs, especially in Australia. Its flexible, durable membrane can handle extreme temperatures and heavy rainfall while adhering to various roof materials.
With proper application, it offers long-lasting protection, ensuring your caravan remains a dry and comfortable home on the road.
With the right materials and a bit of DIY effort, waterproofing your caravan roof can be a straightforward and rewarding project.
Liquid rubber sealant ensures your caravan stays dry and ready for all your adventures, so you can hit the road with confidence. Happy travels!


The Ultimate DIY Guide to Caravan Roof Waterproofing with Liquid Rubber Sealant
Exploring Australia in your caravan is an unmatched experience, but maintaining a dry and cozy interior is essential to truly enjoy your adventures.
A leaking caravan roof can quickly disrupt your travels, but don’t worry—repairing it yourself is easier than you might think.
Using liquid rubber sealant, you can efficiently waterproof your caravan roof, ensuring it stays protected against even the harshest Aussie weather.

Step-by-step Guide to Waterproof Caravan with Liquid Rubber
Identify the Source of the Caravan Roof Leak
The first step is to pinpoint exactly where water is seeping into your caravan. Common problem areas include joins, seams, and screw holes.
Inspect for Damage: Look for signs of water stains, mould, or damp patches inside the caravan.
Conduct a Water Test: Spray the roof with water and observe where it enters the interior. Enlist a friend to help monitor the inside as you identify the source.
Prepare for Liquid Rubber Application
Once you’ve located the leak, it’s time to prep the roof for a proper waterproofing solution.
Temporary Fix for Small Leaks: While silicone can offer a quick fix, it’s only a short-term solution and won’t match the durability of liquid rubber.
Long-Term Solution: Liquid rubber sealant provides a robust and flexible waterproof membrane, making it the best choice for lasting protection against Australia’s unpredictable climate.
Tips for Applying Liquid Rubber Membrane
Follow these steps to ensure your waterproofing efforts are successful:
Clean the Roof: Remove any old sealant, debris, or moss. A clean surface ensures the liquid rubber adheres properly.
Apply Primer: Use a primer designed for liquid rubber to enhance adhesion and extend the sealant’s lifespan.
Seal the Leak: Apply the liquid rubber sealant evenly over the affected area, focusing on seams and joins.
Reinforce for Durability: For extra strength, embed polyester fabric or compatible tape into the sealant while it’s still wet.

Inspect and Address Additional Caravan Roof Damage
After applying the liquid rubber and allowing it to cure, thoroughly inspect your caravan for any lingering issues:
Mould and Mildew: If you find mould, clean it with a specialized remover and improve ventilation to prevent recurrence.
Structural Repairs: Check for water-related damage to insulation, wooden frames, or panels, and repair or replace these components as needed.
Test and Maintain Your Caravan Roof
Once the sealant has dried completely, test your work to ensure the roof is leak-free:
Water Test: Spray water over the roof, paying close attention to the repaired area. Check for any remaining leaks.
Routine Maintenance: Regularly inspect the roof, especially after long trips or harsh weather. Proactive care can prevent small issues from escalating into major problems.
Why Choose Liquid Rubber for Caravan Roof Repairs?
Liquid rubber sealant is a superior solution for waterproofing caravan roofs, especially in Australia. Its flexible, durable membrane can handle extreme temperatures and heavy rainfall while adhering to various roof materials.
With proper application, it offers long-lasting protection, ensuring your caravan remains a dry and comfortable home on the road.
With the right materials and a bit of DIY effort, waterproofing your caravan roof can be a straightforward and rewarding project.
Liquid rubber sealant ensures your caravan stays dry and ready for all your adventures, so you can hit the road with confidence. Happy travels!

Contact Us
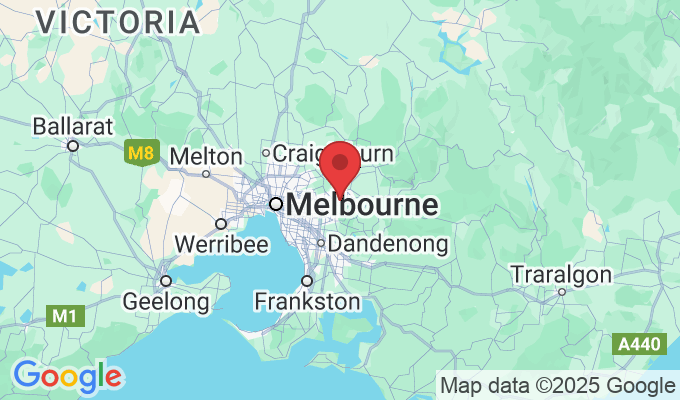
17 Vivian Street Blackburn North 3130 Victoria, Australia

