Liquid Rubber: Superior Caravan Sealant for Australian Adventures
Transform Your Caravan with Our Advanced Waterproofing Solution
Liquid Rubber is your go-to solution for protecting caravan roofs against the harsh Australian climate. Specially formulated to provide durable, long-lasting protection, Liquid Rubber is much more than a quick fix; it's a comprehensive solution for your caravan's waterproofing needs.
UV Resistance and Flexibility: Specially designed to withstand Australia's intense UV rays, Liquid Rubber maintains its integrity over time. Its flexibility is key to adapting to the changing temperatures and movements experienced during your travels.
Compatibility with Various Materials: Whether your caravan has a metal, fiberglass, or rubberized roof (including EPDM or TPO), Liquid Rubber ensures strong adherence and optimal waterproofing.
DIY Friendly Application: Save on costly professional repairs with our easy-to-apply rubber paint. It's the professional choice now made available for every caravan enthusiast.
Liquid Rubber - Tailored for the Australian Environment
Proudly manufactured in Australia, Liquid Rubber represents a commitment to local quality and reliability. It's a product designed for Australian caravans and the unique conditions they face.
Comprehensive DIY Waterproofing: An ideal solution for those who prefer the DIY approach, providing an easy, no-fuss application with long-lasting results.
Effective for Roof Leaks and Repairs: Specifically formulated to tackle common issues like roof leaks, Liquid Rubber seals and protects against further interior damage.
Suitable for Pop Top Caravans: Enhance the waterproofing of retractable roofs, ensuring they remain leak-free and functional.
Trailers and Camper Trailers Protection: Extend the life of your trailer or camper trailer with our robust waterproofing solution.
Suitable for Various Caravan Brands
Liquid Rubber is not just a sealant; it's a versatile solution designed to cater to a wide array of caravan brands and models. Its compatibility extends to some of the most popular and trusted names in the industry, ensuring that no matter your choice of caravan, Liquid Rubber can provide the protection it needs.
Compatible with popular models from Winnebago, Jayco, Lotus, and many others, Liquid Rubber provides the assurance of protection and longevity.
Versatile Protection for All External Features
Liquid Rubber's utility extends far beyond the caravan roof. It is an all-encompassing solution for various external components of caravans and motorhomes, providing a reliable barrier against the elements.
Skylight Sealing: Skylights are vulnerable to leaks, but with Liquid Rubber, they can be effectively sealed to prevent water ingress, ensuring continued enjoyment of natural light without the worry of leaks.
Air Conditioner Protection: The seal around air conditioning units is critical. Liquid Rubber ensures that these units are well-sealed, safeguarding against water damage and maintaining interior comfort.
Solar Panel Edges: For caravans equipped with solar panels, Liquid Rubber offers an excellent way to seal and protect the edges and mounting points of the panels, ensuring their efficiency and longevity.
Sealing Around Hatches and Vents: All hatches, vents, and other protrusions on the caravan's exterior can be effectively sealed with Liquid Rubber, preventing potential leak points and ensuring a watertight exterior.
Comprehensive Caravan Protection: From the front bumper to the rear, including window seals, door edges, and even undercarriage components, Liquid Rubber can be applied to ensure total protection from water ingress and environmental damage.
Australian Made Waterproof Membrane for Quality & Safety
Choosing Liquid Rubber means investing in a product that is:
Environmentally Conscious: Our products are VOC-free, contributing to a healthier environment both during and after liquid rubber application.
Proudly Australian: We manufacture our products locally, supporting the Australian economy and adhering to strict quality control measures.
Quality Assured: Our commitment to quality is backed by our ISO 9001 certification, reassuring our customers of the reliability and durability of our products.
Step-By-Step Application Guide
Thorough Cleaning: Start with a comprehensive wash or water-blast of the surface to ensure optimal adhesion.
Drying Process: Use a leaf blower to remove all excess water for a completely dry surface.
Geo-Textile Preparation: Pre-cut Geo-Textile for bridging seams, joints, and holes, ensuring a snug fit.
Initial Sealant Layer: Apply the Liquid Rubber Sealant. Embed the Geo-Textile smoothly to avoid air pockets or wrinkles.
Addressing Rust and Hatches: Apply sealant to any rust spots and around hatches for complete coverage.
First Sealant Application: Use a brush, roller, or spray machine to evenly apply Liquid Rubber Sealant over the desired area.
Quick-Drying Option: Employ Rapid Cure Spray for faster drying, especially useful in unpredictable weather (optional).
Second Coating: Apply a second layer of Liquid Rubber Sealant for reinforced protection.
Thickness for Optimal Protection: Target a 1.5mm dry-film thickness for robust waterproofing.
Adequate Curing Time: Allow at least 24 hours per 1mm thickness for curing; longer in colder climates.
Post-Curing Cleaning: Wash the surface post-curing to ensure it's free from debris or dirt.
Primer Application: Apply Sealer (for previously painted surfaces) or Etch Primer (for raw metal) as necessary.
Thermal Coating for Final Protection: Apply Thermal Coating over the sealant or primed metal surface for ultimate weather resistance.
Learn more about using Liquid Rubber.
Easy Steps to Fix a Leaking Caravan Roof with Liquid Rubber Sealant
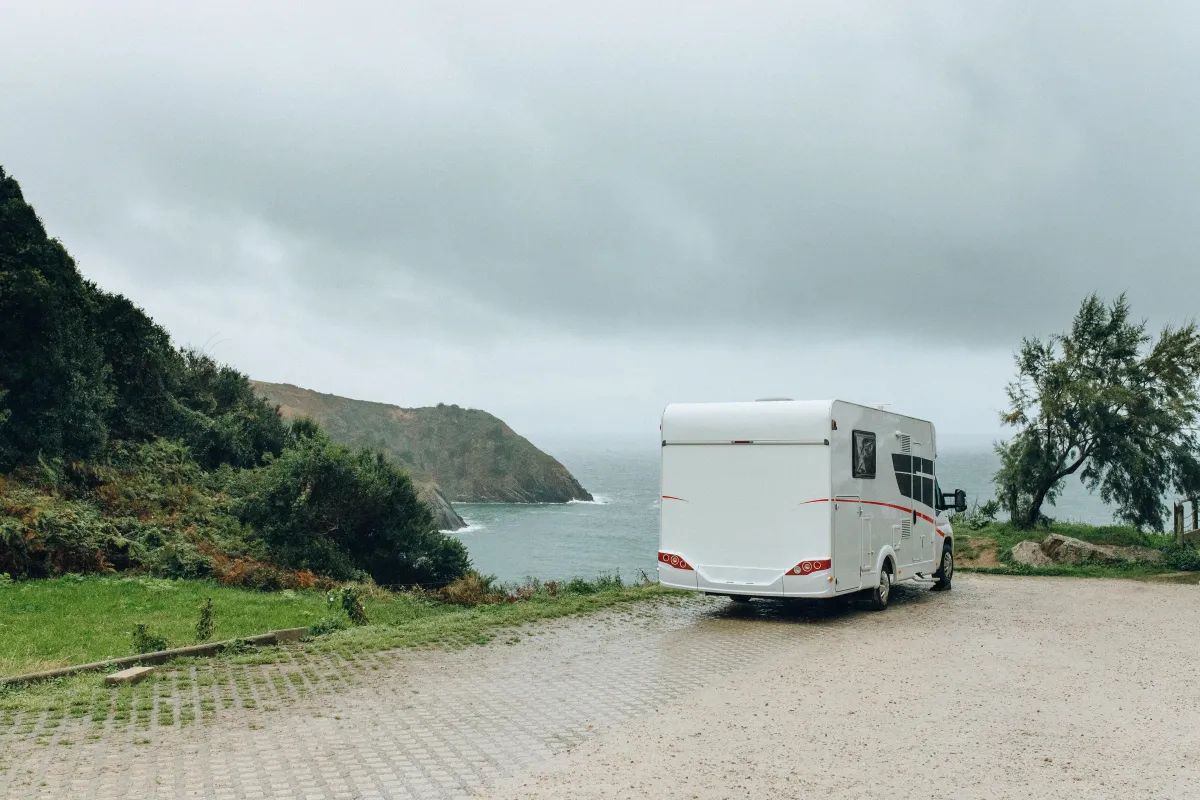
Exploring Australia's stunning landscapes in a caravan is a dream for many. However, a leaking caravan roof can quickly turn your cozy mobile home into a damp and uncomfortable space.
Don’t worry! With the right tools and techniques, you can restore your caravan to its leak-free condition. Here’s a detailed guide on how to repair a leaking caravan roof using liquid rubber sealant, an excellent solution for Australia’s diverse climate.

Locate the Leak in Your Caravan Roof
The first step in any repair is pinpointing the source of the problem. Roof leaks often occur at weak spots like joins, seams, or punctures.
Look for visible signs of water damage or perform a water test by gently spraying the roof and observing where water seeps through. This step requires some patience but is crucial for a successful repair.
Choose the Right Sealing Solution for Caravan Roof: Liquid Rubber
Once you’ve found the leak, it’s time to decide on the best sealing method:
For Small Leaks: A quick fix with silicone can temporarily seal tiny punctures or minor cracks.
For Permanent Repairs: Liquid rubber sealant is ideal for larger leaks or areas with more significant wear. This waterproof, flexible solution creates a durable membrane, protecting your caravan against Australia’s harsh weather conditions.
Apply Liquid Rubber Sealant
Follow these steps to apply liquid rubber sealant effectively:
Prepare the Surface: Clean and dry the roof thoroughly. Remove any debris, dirt, or old, flaky sealant to ensure proper adhesion.
Use a Primer: Apply a primer designed for use with liquid rubber to enhance its waterproof properties and ensure long-lasting results.
Seal and Reinforce: Carefully apply the liquid rubber sealant over the leak and surrounding area. For added durability, especially around joins and seams, use a polyester fabric or compatible tape for reinforcement.
Inspect Caravan Roof for Additional Damage
Roof leaks can cause more than a wet interior—they can lead to long-term structural issues. After sealing the leak, check your caravan for:
Mould and Mildew: Thoroughly clean any mould or mildew with an appropriate removal product. Improve ventilation to prevent future growth.
Structural Damage: Inspect for wood rot, damaged insulation, or compromised interior panels. Repair or replace these components as needed.
Test Your Repair and Maintain Your Caravan Roof
After the sealant has cured, it’s time to ensure your repair is effective:
Conduct a water test by spraying the roof and inspecting for any remaining leaks.
Regularly check your caravan roof for wear and tear to prevent future issues.
Why Liquid Rubber Sealant is Perfect for Australian Caravans?
Liquid rubber sealant offers a robust and flexible solution to caravan roof leaks. Its weather-resistant properties make it ideal for Australia’s varying climate, from scorching heat to heavy rains.
With proper application, this sealant provides long-lasting protection, keeping your caravan a comfortable and dry retreat wherever your travels take you.
Repairing a leaking caravan roof may seem daunting, but with the right approach and materials, it’s a manageable DIY task.
Liquid rubber sealant is an excellent investment to protect your caravan and ensure many more adventures on the road.

Easy Steps to Fix a Leaking Caravan Roof with Liquid Rubber Sealant
Exploring Australia's stunning landscapes in a caravan is a dream for many. However, a leaking caravan roof can quickly turn your cozy mobile home into a damp and uncomfortable space.
Don’t worry! With the right tools and techniques, you can restore your caravan to its leak-free condition. Here’s a detailed guide on how to repair a leaking caravan roof using liquid rubber sealant, an excellent solution for Australia’s diverse climate.
Locate the Leak in Your Caravan Roof
The first step in any repair is pinpointing the source of the problem. Roof leaks often occur at weak spots like joins, seams, or punctures.
Look for visible signs of water damage or perform a water test by gently spraying the roof and observing where water seeps through. This step requires some patience but is crucial for a successful repair.
Choose the Right Sealing Solution for Caravan Roof: Liquid Rubber
Once you’ve found the leak, it’s time to decide on the best sealing method:
For Small Leaks: A quick fix with silicone can temporarily seal tiny punctures or minor cracks.
For Permanent Repairs: Liquid rubber sealant is ideal for larger leaks or areas with more significant wear. This waterproof, flexible solution creates a durable membrane, protecting your caravan against Australia’s harsh weather conditions.
Apply Liquid Rubber Sealant
Follow these steps to apply liquid rubber sealant effectively:
Prepare the Surface: Clean and dry the roof thoroughly. Remove any debris, dirt, or old, flaky sealant to ensure proper adhesion.
Use a Primer: Apply a primer designed for use with liquid rubber to enhance its waterproof properties and ensure long-lasting results.
Seal and Reinforce: Carefully apply the liquid rubber sealant over the leak and surrounding area. For added durability, especially around joins and seams, use a polyester fabric or compatible tape for reinforcement.
Inspect Caravan Roof for Additional Damage
Roof leaks can cause more than a wet interior—they can lead to long-term structural issues. After sealing the leak, check your caravan for:
Mould and Mildew: Thoroughly clean any mould or mildew with an appropriate removal product. Improve ventilation to prevent future growth.
Structural Damage: Inspect for wood rot, damaged insulation, or compromised interior panels. Repair or replace these components as needed.
Test Your Repair and Maintain Your Caravan Roof
After the sealant has cured, it’s time to ensure your repair is effective:
Conduct a water test by spraying the roof and inspecting for any remaining leaks.
Regularly check your caravan roof for wear and tear to prevent future issues.
Why Liquid Rubber Sealant is Perfect for Australian Caravans?
Liquid rubber sealant offers a robust and flexible solution to caravan roof leaks. Its weather-resistant properties make it ideal for Australia’s varying climate, from scorching heat to heavy rains.
With proper application, this sealant provides long-lasting protection, keeping your caravan a comfortable and dry retreat wherever your travels take you.
Repairing a leaking caravan roof may seem daunting, but with the right approach and materials, it’s a manageable DIY task.
Liquid rubber sealant is an excellent investment to protect your caravan and ensure many more adventures on the road.
Contact Us
17 Vivian Street Blackburn North 3130 Victoria, Australia
Delivery throughout Australia
Pick Up 17 Blackburn Nth Vic 3130