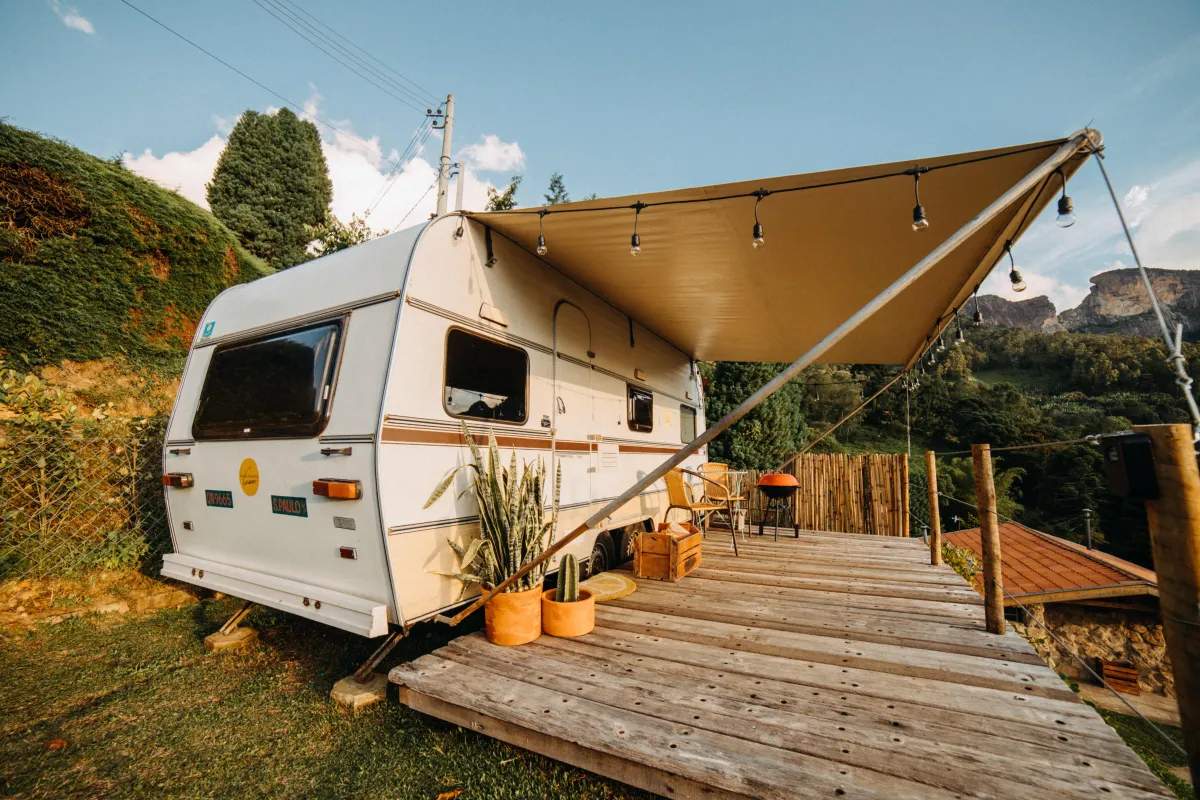
The Ultimate DIY Guide to Caravan Roof Waterproofing with Liquid Rubber Sealant
Exploring Australia in your caravan is an unmatched experience, but maintaining a dry and cozy interior is essential to truly enjoy your adventures.
A leaking caravan roof can quickly disrupt your travels, but don’t worry—repairing it yourself is easier than you might think.
Using liquid rubber sealant, you can efficiently waterproof your caravan roof, ensuring it stays protected against even the harshest Aussie weather.

Step-by-step Guide to Waterproof Caravan with Liquid Rubber
Identify the Source of the Caravan Roof Leak
The first step is to pinpoint exactly where water is seeping into your caravan. Common problem areas include joins, seams, and screw holes.
Inspect for Damage: Look for signs of water stains, mould, or damp patches inside the caravan.
Conduct a Water Test: Spray the roof with water and observe where it enters the interior. Enlist a friend to help monitor the inside as you identify the source.
Prepare for Liquid Rubber Application
Once you’ve located the leak, it’s time to prep the roof for a proper waterproofing solution.
Temporary Fix for Small Leaks: While silicone can offer a quick fix, it’s only a short-term solution and won’t match the durability of liquid rubber.
Long-Term Solution: Liquid rubber sealant provides a robust and flexible waterproof membrane, making it the best choice for lasting protection against Australia’s unpredictable climate.
Tips for Applying Liquid Rubber Membrane
Follow these steps to ensure your waterproofing efforts are successful:
Clean the Roof: Remove any old sealant, debris, or moss. A clean surface ensures the liquid rubber adheres properly.
Apply Primer: Use a primer designed for liquid rubber to enhance adhesion and extend the sealant’s lifespan.
Seal the Leak: Apply the liquid rubber sealant evenly over the affected area, focusing on seams and joins.
Reinforce for Durability: For extra strength, embed polyester fabric or compatible tape into the sealant while it’s still wet.
Inspect and Address Additional Caravan Roof Damage
After applying the liquid rubber and allowing it to cure, thoroughly inspect your caravan for any lingering issues:
Mould and Mildew: If you find mould, clean it with a specialized remover and improve ventilation to prevent recurrence.
Structural Repairs: Check for water-related damage to insulation, wooden frames, or panels, and repair or replace these components as needed.
Test and Maintain Your Caravan Roof
Once the sealant has dried completely, test your work to ensure the roof is leak-free:
Water Test: Spray water over the roof, paying close attention to the repaired area. Check for any remaining leaks.
Routine Maintenance: Regularly inspect the roof, especially after long trips or harsh weather. Proactive care can prevent small issues from escalating into major problems.
Why Choose Liquid Rubber for Caravan Roof Repairs?
Liquid rubber sealant is a superior solution for waterproofing caravan roofs, especially in Australia. Its flexible, durable membrane can handle extreme temperatures and heavy rainfall while adhering to various roof materials.
With proper application, it offers long-lasting protection, ensuring your caravan remains a dry and comfortable home on the road.
With the right materials and a bit of DIY effort, waterproofing your caravan roof can be a straightforward and rewarding project.
Liquid rubber sealant ensures your caravan stays dry and ready for all your adventures, so you can hit the road with confidence. Happy travels!

Contact Us
17 Vivian Street Blackburn North 3130 Victoria, Australia
Delivery throughout Australia
Pick Up 17 Blackburn Nth Vic 3130